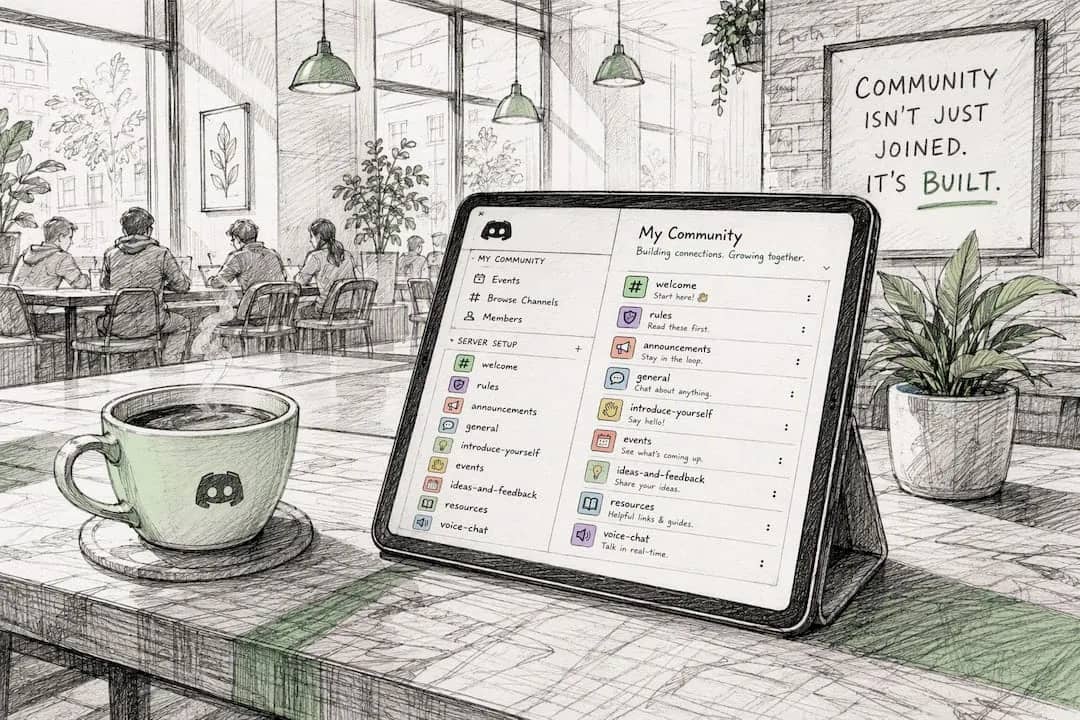
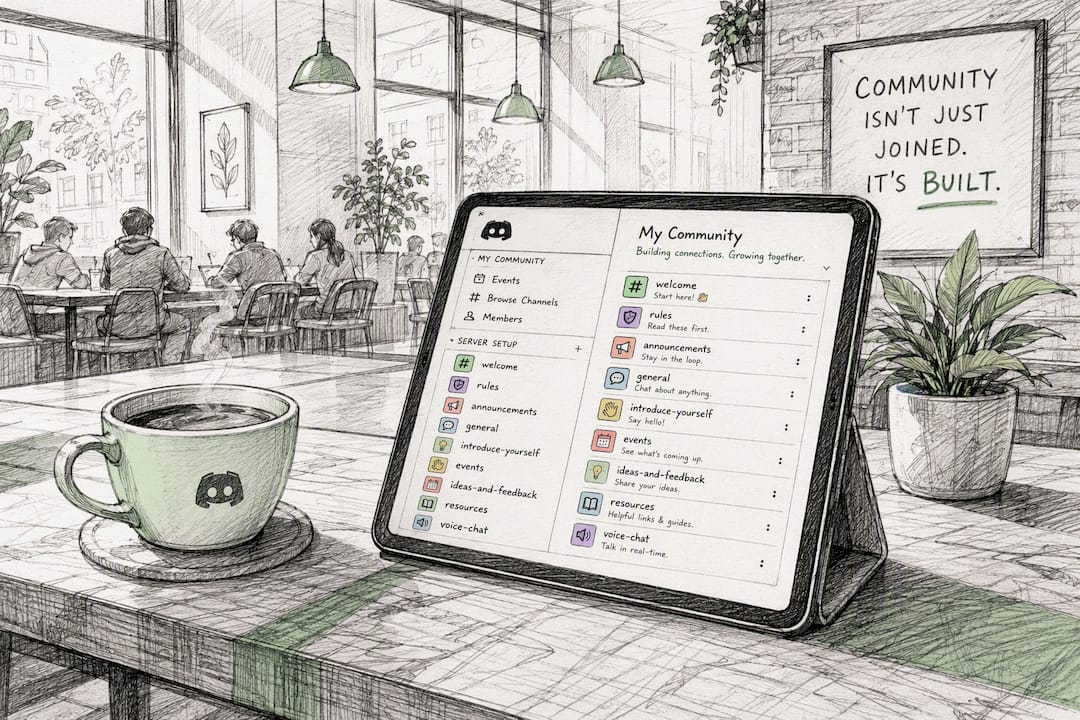
Channels are the topic-based rooms, text or voice, that make up a Discord server’s structure, and the fastest way to a working community is starting small: a #welcome, #rules, #announcements, #general, #off-topic, and one voice lobby. That’s it for day one. Everything else, from forum channels to permission tiers, gets layered on once you know your members actually need it. Keep reading for the full breakdown of types, setup steps, and organization rules.
TL;DR:
- Start with a minimal channel setup consisting of #welcome, #rules, #announcements, #general, #off-topic, and one voice lobby to avoid cluttering your server at launch.
- Organize channels into relevant categories with short, specific names to help members orient quickly and keep the server visually clean.
- Configure permissions at the category level to ensure efficient management, and regularly verify permission overrides to prevent accidental access issues.
- Use announcement channels with channel following for broadcasting updates to other servers, and spawn threads only for side discussions to prevent clutter.
- Regularly prune inactive channels and review permissions to maintain a healthy, engaging community environment over time.
Table of Contents
- What Are the Different Discord Channel Types?
- How Do You Create and Configure a Discord Channel?
- How Should You Organize Discord Server Channels?
- How Do Discord Permissions and Private Channels Work?
- What Can You Do With Voice, Stage, and Announcement Channels?
- What’s a Good Starter Channel Layout for a New Server?
- How Do You Keep a Discord Server’s Channels Healthy Over Time?
- What Would You Do in Your First Week Running a Server?
- Plan Your Community Structure Before You Build It
- Where to Go for Official Discord Channel Documentation
- Sources
- FAQ
What Are the Different Discord Channel Types?
Each channel type solves a different communication problem, and picking the wrong one is the fastest way to make a server feel cluttered.
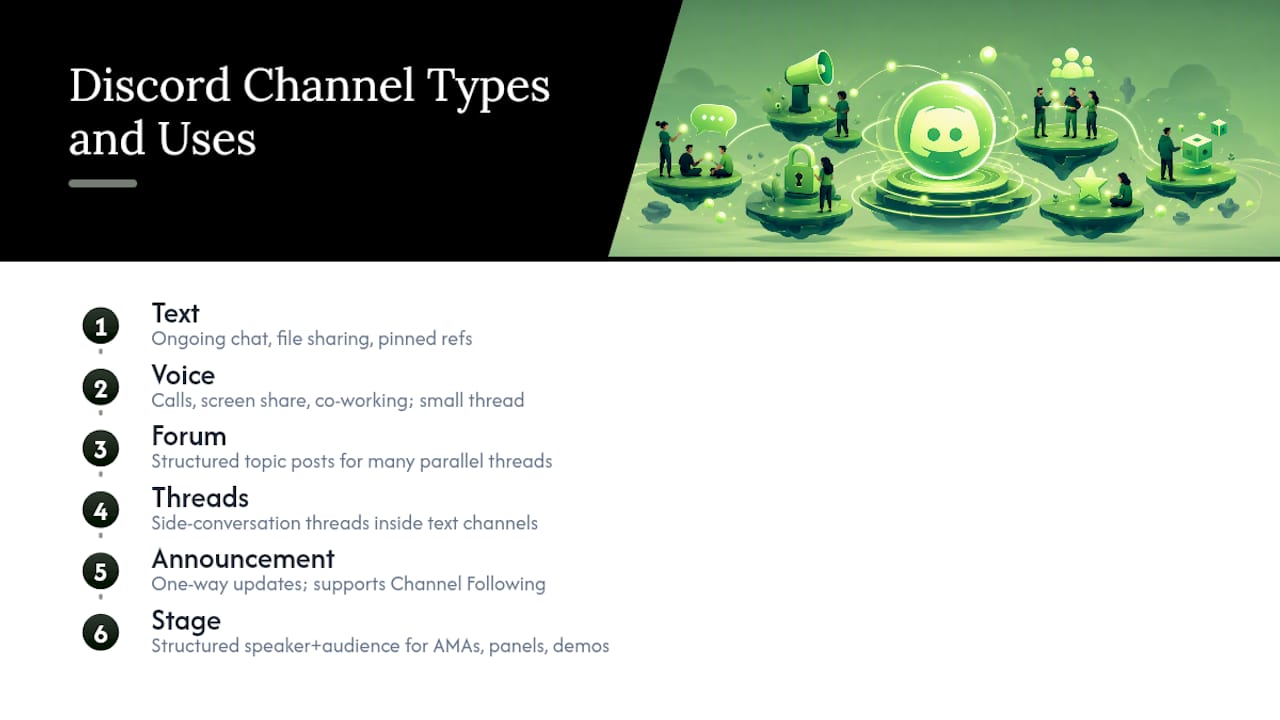
Text channels handle ongoing conversation, file sharing, and pinned reference info. They’re your default room for most day-to-day chatter, and they’re cheap to create, so resist the urge to spin up ten of them on launch day.
Voice channels work as always-on hangout spaces for calls, screen sharing, and co-working sessions. Each voice channel also gets a small text thread attached to it, handy for dropping links mid call without breaking the conversation.
Forum channels structure discussion around individual topics, where each post becomes its own thread. They’re a better fit than a flat text channel when you expect dozens of parallel conversations, like a support server fielding bug reports or feature requests. Threads work similarly inside regular text channels: spawn one when a side conversation would otherwise bury the main chat, not for every tangent someone brings up.
Announcement channels broadcast one-way updates and support Channel Following, which lets other servers subscribe to your posts. Stage channels create a structured speaker-and-audience format, good for AMAs, panel discussions, or product demos where you want a few voices leading and everyone else listening.
Discord’s developer docs list the underlying channel type IDs, GUILD_TEXT, GUILD_VOICE, GUILD_FORUM, GUILD_ANNOUNCEMENT, and GUILD_STAGE_VOICE, if you’re curious how the platform categorizes them internally. One more thing: any channel flagged NSFW requires age verification and hides from users who haven’t confirmed their age, so use that toggle deliberately, not as a workaround for moderation gaps.
How Do You Create and Configure a Discord Channel?
Creating a channel takes seconds. Configuring it correctly takes a little more attention, and it’s the step most new server owners skip.
- Click the plus icon (+) next to a category header or your server name to open the channel creation dialog.
- Choose the channel type: text, voice, announcement, forum, or stage.
- Name it. Keep it short and lowercase, Discord convention leans casual
- Flip the Private Channel toggle if you want to restrict visibility before you even hit create.
- Hit Create Channel, then click the gear icon to open settings.
Once it exists, check four things immediately: the topic field (a one-line description that shows at the top of the channel), slowmode (rate limits messages per user, useful for busy channels prone to spam), the NSFW flag, and permissions (who can view, send, or manage). If you’re running bots or webhooks, this is also where you’ll wire up integrations.
Deleting a channel is permanent. Message history goes with it, no recovery, no undo. If a channel has gone quiet but might matter later, archive the conversation by exporting it or simply lock it down with permissions instead of deleting outright.
How Should You Organize Discord Server Channels?
A server with thirty ungrouped channels feels like a maze. A server with categories and clear names feels like a place you’d actually want to hang out.
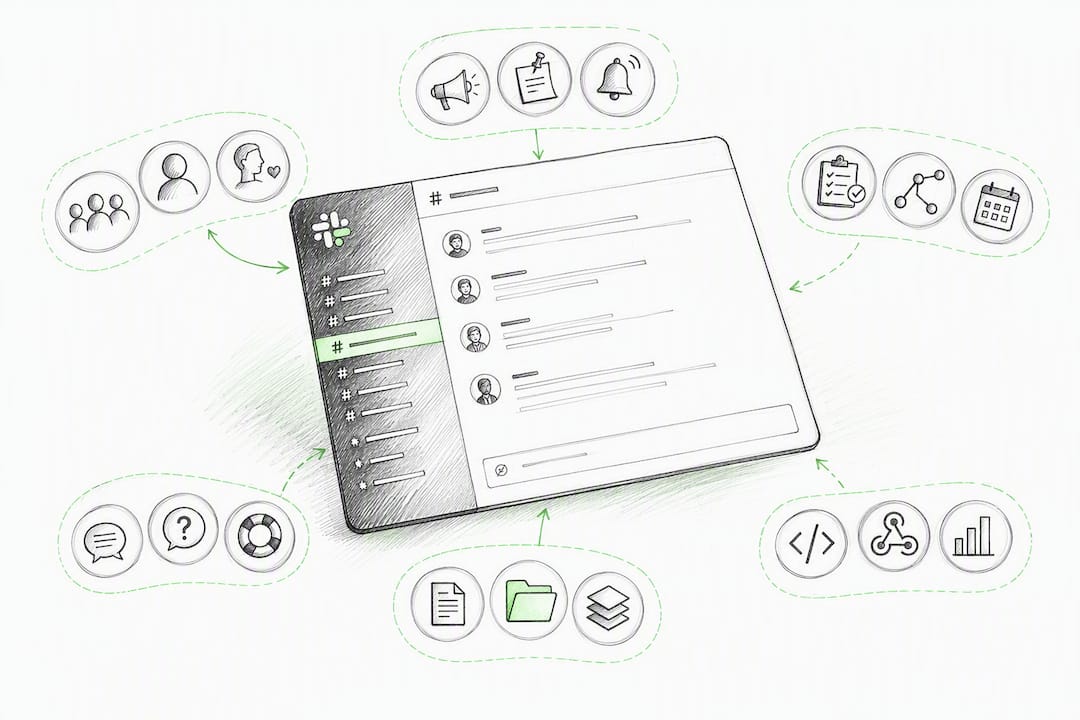
Group related channels under categories, and put the essentials, rules, welcome, resources, at the very top, outside a category if needed, so they’re the first thing new members see. Discord’s own community guidance recommends keeping roughly 4 to 5 channels per category, which stops any single section from turning into an unbroken wall of text.
Naming matters more than people think. Short, specific, and unique names beat vague ones: #feedback beats #thoughts, #bug-reports beats #issues-2. A little emoji flair at the start of a name can help visual scanning, but don’t overdo it. Skip the stylized fonts and unicode tricks entirely; they look flashy for about a day and then make your channel list harder to read on mobile.
Use the topic field on every channel to state its purpose in one line, and pin a starter message with rules or context. New members shouldn’t have to guess what a channel is for. Think of categories and topics as your server’s signage: if someone can’t orient themselves in two seconds, the layout needs work, not more explanation.
How Do Discord Permissions and Private Channels Work?
Permissions are the part of channel management that quietly makes or breaks a server as it grows, and getting the mental model right up front saves you hours later.
When a channel is synced to its category, it automatically inherits that category’s permission overwrites. That’s the efficient path: set permissions once at the category level, and every channel underneath follows suit. Making a channel genuinely private means restricting the @everyone role’s view permission and granting access only to specific roles or members, whether that’s a staff category, a paid-tier space, or a private project room.
The most common pitfall: adding a per-channel permission override breaks sync with the category. Once that happens, future category-level changes won’t propagate to that one channel automatically, and you’ll need to manually re-sync it. This trips up a lot of admins who add “just one exception” and then forget it’s there.
Before you announce big role changes to your community, run this checklist:
- Right-click the channel and use View Server as Role to confirm exactly what each role sees.
- Test both view and send permissions, not just visibility.
- Check whether the channel is still synced to its category or carrying stray overrides.
- Re-verify after any category-level permission change.
Pro Tip: Test permission changes on a quiet Tuesday afternoon, not right before a launch event. Locking out your own moderators mid campaign is a bad look and an easy mistake to avoid.
What Can You Do With Voice, Stage, and Announcement Channels?
The special-purpose channel types are where a server goes from “functional” to “actually fun to be in.”
Voice channels aren’t just for calls. Founders use them for co-working sessions, screen shares during demos, and casual drop-in hangouts. A healthy voice room usually has a light pinned reminder about etiquette, mute norms, that kind of thing, in the attached text channel.
Stage channels make sense when you want a clear speaker-versus-audience format: a founder AMA, a product walkthrough, a panel with three guests. If everyone should be able to jump in and talk freely, use a regular voice channel instead; stages add friction that only pays off for structured events.
Announcement channels paired with Channel Following let your updates cross-post automatically into other servers’ channels. That requires an Announcement Channel type plus Community Server features enabled on your server, so if you’re trying to get followed by partner communities, confirm both are switched on first.
Threads are for containment, not for every tangent. Spawn one when a side discussion would otherwise flood the main channel. Public threads are visible to anyone with channel access; private threads restrict membership. Both auto-archive after a period of inactivity, which keeps the channel list from bloating with dead conversations.
What’s a Good Starter Channel Layout for a New Server?
Here’s a template you can copy directly. It covers the basics without overwhelming new members on day one.
- #welcome (no category) — first thing new members see, sets tone immediately.
- #rules (no category) — non-negotiable, pin it, keep it short.
- #announcements — your one-way broadcast channel for updates.
- General category → #general — the default catch-all chat.
- General category → #off-topic — pressure valve for non-server-related chatter.
- Voice category → Lobby — one always-on voice channel to start.
Everything else is optional and should be added on demand, not upfront. If members start asking specific questions repeatedly, that’s your signal to spin up a dedicated channel, not a hunch. Order categories with the most-used ones near the top, and let Discord’s collapse feature hide quieter categories so the list stays scannable as it grows. Starting minimal isn’t a limitation, it’s the actual recommended approach for new servers.
How Do You Keep a Discord Server’s Channels Healthy Over Time?
A server that grows without upkeep turns into digital clutter fast, so build a light maintenance habit early.
Prune channels that have gone genuinely dead, but pause before you delete: history disappears permanently, so archive or lock instead if there’s any chance you’ll want that record later. Watch simple activity signals, message frequency, active voice sessions, whether a channel gets used during peak hours, to decide what stays.
Set a recurring cadence, monthly works for most servers, to review role permissions and catch anything that drifted since the last change. If you rolled out a new role and it accidentally granted too much access, that review is where you catch it before it becomes a problem. On the automation side, archiving inactive threads and flagging stale channels for review are reasonable things to hand off to a bot; just don’t automate permission changes without a human checking the result first.
What Would You Do in Your First Week Running a Server?
Rules and a welcome message go up before anything else, pinned, visible, no exceptions. That’s your server’s front door, and it sets the tone before a single member speaks.
Next, build the minimal layout: welcome, rules, announcements, general, off-topic, one voice lobby. Then immediately test permissions using View Server as Role, because finding a lockout after fifty people join is a much worse day than finding it before anyone does.
Finally, run three small events, a voice hangout, a thread-based Q&A, anything low-stakes, to seed real activity. Watch what members actually gravitate toward, then add channels based on that signal, not your assumptions. Building a community structure is a lot like building a product: your first guess is a hypothesis, not a blueprint. The same discipline applies to structuring remote team communication, where clarity up front saves you from cleanup later.
— Samim Safaei
Plan Your Community Structure Before You Build It
Setting up channels is the easy part. Knowing whether your community concept actually has legs, whether the audience you’re picturing will show up and stick around, is the harder question, and it’s exactly the kind of thing siift is built to help founders answer before they sink weeks into server architecture. Instead of guessing at channel structure and hoping engagement follows, siift helps you map your assumptions, run structured feedback loops, and validate whether the community you’re picturing matches a real, willing audience.
Founders use siift three ways here: pressure-testing whether a community-led launch fits their go-to-market plan, mapping which member segments justify which channels before building them, and validating positioning before announcing anything publicly. If you’re weighing a Discord launch as part of a bigger strategy, start with siift’s startup idea validation tool and build your community on a foundation you’ve actually tested.
Where to Go for Official Discord Channel Documentation
For step-by-step UI instructions and setup best practices, check Discord’s own beginner’s guide and blog post on starting a server. Developers automating channel behavior should reference the discord.js GuildChannel class for methods like cloning and repositioning channels.
Sources
- Starting your first Discord server
- Channels resource — Discord developer docs
- Beginner’s Guide to Discord
FAQ
What are channels on Discord?
Channels are individual rooms inside a Discord server, each dedicated to a specific topic or format, text, voice, forum, announcement, or stage. Every server is built from a collection of these channels, usually grouped into categories.
How do I find Discord channels within a server?
Channels appear in the sidebar of a server, grouped under category headers, and you click any channel name to open it. If a channel is private, it only shows up in your sidebar once a role or admin grants you access.
What are good channels for a new Discord server?
Start with #welcome, #rules, #announcements, #general, #off-topic, and one voice lobby, then add specialized channels like forums or project spaces once actual conversation patterns justify them. Tools like siift can help you validate which community segments are worth building dedicated channels for before you overbuild.
How do I get into an 18+ channel on Discord?
Age-restricted (NSFW-flagged) channels require you to confirm your age on your Discord account settings before they become visible; server admins also control which roles can access them. There’s no universal adult-only server directory, access depends entirely on the individual server’s permission setup and Discord’s own age-verification requirements.